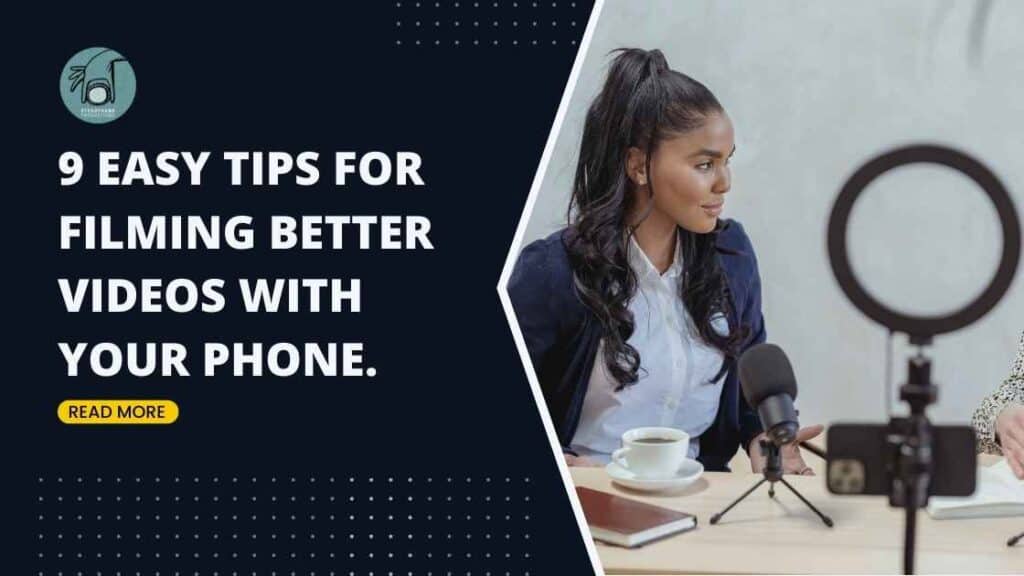
Are you looking to make stunning videos with nothing more than your phone’s camera? Look no further! With this guide, anyone can learn how to create captivating visuals without having expensive equipment.
This post will show you the tips and tricks necessary for taking advantage of all that your smartphone has to offer when it comes time for filming.
So don’t be afraid– grab a device, open your camera app and start recording today; everyone from novice filmmakers just starting or professionals seeking an increase in production value can benefit from these simple steps!
1. Get a tripod for your phone.
Whether you’re a professional videographer or an amateur Snapchatter, one phone accessory can take your videos to the next level: a tripod.
A tripod will allow you to take stabilized videos without worrying about your phone camera shaking. It will help prevent blurriness, ensure your shots are perfectly framed and give you smoother, more professional-looking footage.
It also allows you to move around without holding your device at arm’s length the whole time, enabling you to frame yourself in the shot however you like. It will also allow you to use your hands to demonstrate or show off anything in your videos.
A tripod is an essential tool for anyone who wants to improve the quality of their phone videos. So if you’re looking to take your video creation game to the next level, invest in a tripod today.
2. Record in landscape mode, not portrait mode
If you’re using your phone to take pictures or shoot videos, one of the most important things to remember is to hold it in landscape mode, not portrait mode.
- Landscape mode means holding your device horizontally so the screen is wider than tall.
- Portrait mode means holding your phone vertically so that the screen is taller than it is wide.
Film is traditionally shot in landscape mode for several reasons.
- It allows for a wider field of view, essential for capturing all the action.
- Landscape mode is the native aspect ratio for most cameras, so it’s what people are used to seeing. Movies are filmed and played in a widescreen landscape format.
Practical reasons for shooting in landscape
So apart from being the standard for films and informative videos, there are other practical considerations for recording in landscape mode.
- It’s much easier to keep your phone steady when you’re holding it horizontally. You’re less likely to get blurry pictures or videos this way.
- You’ll be able to fit more people or objects into the frame while shooting in landscape mode. Especially important if you’re taking group shots.
- It’s also helpful for filming interviews because you can fit the interviewer and interviewee in the frame without cropping anyone out.
- And finally, landscape mode looks better. Shooting in this orientation will make your videos more balanced and symmetrical.
Exceptions – When to shoot Vertically
Of course, there are exceptions to every rule; sometimes, shooting in portrait can be advantageous.
If you are making content solely for Instagram stories or TikTok, then portrait will be a better option. Viewers must watch videos on these platforms vertically. So videos created for this platform will perform better if shot this way.
But overall, landscape mode is the best choice for shooting video.
3. Use natural light whenever possible or invest in good film lighting.
When it comes to creating amazing video footage, lighting is critical. Without the proper luminosity, your camera will struggle to capture a clear image – resulting in dark or blurry shots.
Natural lighting should always be preferred over artificial house lights, as this illumination will enable your camera’s image sensor to collect more light for better results.
Alternatively, if you have limited natural light available, investing in good film lighting sets you up for success and can help create vibrant visuals that stand out from the crowd!
Natural Light
Light from the sun is free and can give your video a more natural look, and it is the best light source available to us. Here are a few tips for using natural lighting when filming:
- Shoot during the golden hour: The hour before sunset and the hour after sunrise are called the “golden hours” because the light is warm and golden during these times. If you’re shooting outside, try to do it during the golden hour for the best results.
- Shoot in the open shade: If you’re shooting in direct sunlight, your subjects will likely be squinting, and the image will be overexposed. Instead, try to film in an open shade, a shady area still lit by sunlight. This will give you a softer, more flattering well-lit image.
However, if you are shooting indoors and natural lighting is not an option, you should look into film lights.
Film Lights
Film lights are designed to provide even, soft light that is flattering to your subject. Film lights usually have a diffuser attached to the front that helps to spread the light and create a more natural look.
Film lights are also much brighter than standard household lights, which videographers can use in lower light conditions without washing out their subject. This is ideal for recording in dimly lit rooms or outdoors at night.
With the advent of Led lights, there are lots of very affordable options available.
So next time you plan a shoot, take advantage of the sun’s power or invest in good quality film lights.
4. Make sure the subject is in focus.
Nobody likes to watch an out-of-focus video; it’s a jumbled mess that leaves viewers squinting for clarity. To prevent this visual frustration, filmmakers must make sure the subject of their film is sharply in focus before rolling.
Thankfully, modern cameras come with features designed specifically for obtaining perfect shots without too much fuss. However, it can often be overlooked in favour of filming immediately. Taking your time set the focus allows you and your audience to gaze at crystal clear visuals where every detail shines through.
Here are a few tips to help you keep your video in focus:
Capturing a clear and focused video has never been easier! To guarantee your footage is crisp, use the following tips:
- Keep it steady – mount your phone or device on a tripod for fewer jitters.
- Be sure to tap on the focus subject to sharpen the shot. Tap to focus is standard on most modern cameras, and if your phone isn’t set to do this by default, you should be able to find it in your camera settings.
- Avoid zooming in too far, as this will affect resolution; get closer if possible.
- Finally, take an extra moment before recording to verify that everything looks crystal-clear – no one wants their videos ruined by tiny mistakes like low-focus shots!
5. Use an external microphone instead of your phone mic.
If you’re serious about filming, you know the sound is just as important as visuals. After all, what’s the point of having a great video if no one can hear what’s going on?
But for the most part, audio directly from the phone is never as clean as we need it to be!
So why is the audio recording quality of a smartphone camera so bad?
There are a few reasons for this.
- First, the cameras on mobile devices are designed primarily for taking pictures and phoning, not for filming. As a result, the microphone is often an afterthought, positioned at the bottom of the device.
- Second, phone cameras typically use lower-quality microphones than dedicated video cameras.
- Third, even the best microphone will produce horrible sound if it’s not used correctly. For example, suppose you’re filming in a noisy room. In that case, the room’s sound will overwhelm the sound of the microphone, resulting in poor audio.
- Finally, most phones lack any wind filter, making outdoor recordings challenging to understand.
For all these reasons, it’s no wonder the audio quality of videos filmed on phones could be better.
Benefits of External Microphones
That’s where an external mic comes in. By using a separate microphone, you can ensure that your video sounds clear and professional.
- External mics are purposefully built to pick up sounds more clearly, making videos easier to understand and enjoy.
- In addition, external mics can be positioned closer to the sound source, reducing background noise and echo.
- They often come with a windshield which will reduce the noise of the wind significantly compared to recording with a phone’s internal mic.
As any professional will tell you, using an external microphone is one of the simplest and most effective ways to improve the calibre of your video. So if you’re serious about making great videos, invest in a good external microphone.
6. Don’t Zoom in. (Digital zoom vs Optical Zoom)
Digital Zoom
Digital zooming allows us to quickly get close-up shots without having to move closer physically.
Unfortunately, it does come at the cost of detail. Instead of moving the lens nearer, this function is just cropping and enlarging existing pixels, resulting in an image that can be distorted or grainy.
Optical Zoom
In contrast, optical zoom was traditionally achieved by moving parts within a lens that allowed the lens to capture different focal lengths.
Smartphone cameras have come a long way and offer greater flexibility for framing your shots with multiple lenses.
Take the iPhone 11, which has three rear camera lenses – wide-angle, telephoto and ultra-wide angle – capable of optical zooming in to capture detailed images without sacrificing quality.
When taking pictures or videos on your phone, try getting up close instead of relying too much on digital zoom; you can move closer while still achieving proximity to the subject matter, thanks to today’s impressive smartphone technology.
7. Keep videos short and to the point
In today’s digital age of constant content streaming, it is critical to recognize that capturing and holding your viewers’ attention for even a short period can be an immense challenge.
To ensure the impact of each video you create remains strong enough to cut through the noise and connect with its audience, focus on crafting concise videos that are meaningful– ones where every second counts!
Aiming for brevity ensures your message stays clear until the final frame.
8. Film some B-roll of what you are talking about
When crafting the perfect video, you’ll want to include B-roll footage.
B-roll is footage that supplements the message of your video. For instance, if you are talking about a recent trip to New York, you could include footage of the city to complement what you are talking about.
This could range from a wide shot of commuters walking through Grand Central Station to an intimate look at figures in an art museum – anything that will amplify your main action!
While b-roll is used as supplementary content, cutaways also play their part, short snippets which can add colour or context without directly relating to the central focus. With both techniques utilized thoughtfully, one’s final product stands poised for success with its audience.
Ultimately, both B-roll and cutaways can make your video look more professional and polished.
Edit videos using a video editing app.
The art of video editing takes a particular skill set, patience and time. Capturing the right shots is only half the battle; you need to know how to create an engaging experience with your footage to draw viewers into what they’re watching.
That’s why accessing professional video-editing apps can be such a helpful tool for filmmakers! With software that offers precise control over every aspect from composition through sound levels, it’s as simple as drag-and-drop or clicks away when transforming raw clips into stunning visuals – perfect for making mini-movies out of cherished memories or directing short films about important topics. The possibilities are endless!
On the other hand, editing your video on a mobile device can be like performing surgery using a needle and thread. It is difficult to see what’s going on, cumbersome to use the limited tools available, and ultimately too small-scale for absolute precision. Your best bet on editing videos is getting yourself in front of a computer with all its bells and whistles; you’ll find more control over shaping your final product without wasting time or effort.
Good editing software
Working on your computer is much more precise. You can use powerful software like Adobe Premiere Pro or Final Cut Pro. There are many free programs for your computer that will make it much easier to edit than your device. iMovie is an excellent choice for an easy-to-use program with many cool features for a free app. It’s perfect for home movies or creating short films.
Ultimately, editing on your computer is the way to go if you want to make professional videos.
Conclusion
So there you have it! Nine top tips for filming high-quality videos with your phone. Following these guidelines, you can shoot video content to help you reach your business or personal goals.
Start filming now, press record, upload it to Youtube, and see how your audience reacts to what you’ve filmed. Remember you can use this filming with phone checklist whenever you need a reminder.


